EnviroKarma.org - Electric Vehicle (EV) Conversion '...it's (NOT) hard to be Green' - what Kermit should have said


Click to receive email when updates are posted to this page:
Powered by ChangeDetection.com

Front Battery Rack for the Suzuki Swift (Geo Metro/Pontiac Firefly)...

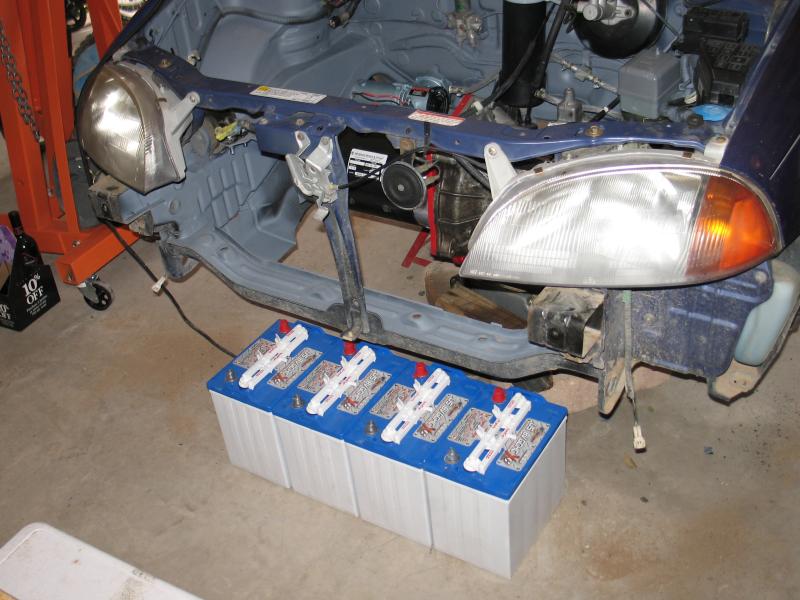
    After removing the front bumper cover, and bumper, for easy access I sat around and measured possible locations for the four batteries I'd like to put up front. The US Battery 8vgchcxc batteries are a little taller than standard auto batteries; if I put them on top of the motor, I would have to do a major hood modification! After more measuring, I decided to go ahead and cut out the original front xmember and replace with a U beam combined as the bottom of a rack.

    The xmember itself is THIN metal, so the sawzall zipped right thru. I think that the channel I will use will be far stronger than original, and in a front-end accident the batteries may even act as energy absorbers similar to buckets of sand.Granted, a front end crash might leak a bunch of battery acid, but is probably still safer than gas!

    Construction of the U channel called for a trip to my favorite local steel yard 'Mesa Steel' in Santa Fe. They have been really great about selling me odds and ends for scrap prices. Unfortunately, they didn't have any light 1/8" U channel in stock, so I decided to weld together two pieces of 2" angle. This will give me a nice solid base 4" wide to which I will use 1" angle for the 'corners' of the rack itself.

    Materials for the base xmember are:

    • 2 pcs 2"x1/8" angle iron 38-1/8" long
    • 2 pcs 2"x1/8" angle 3-5/8" long for end brackets
    • bolts, nuts, washers for end brackets
    • 2x1x1 (trimmed) for bumper cover bracket

    Materials for rack are:

    • 1 x 1 x 1/8 angle iron cut to give 28-1/2 x 10-5/16 inside for batteries
    • 3 pcs 1/4" 'allthread' for battery clamps
    • 1/2 square tube for battery clamp
    • 5/8 irrigation hose for insulating clamp

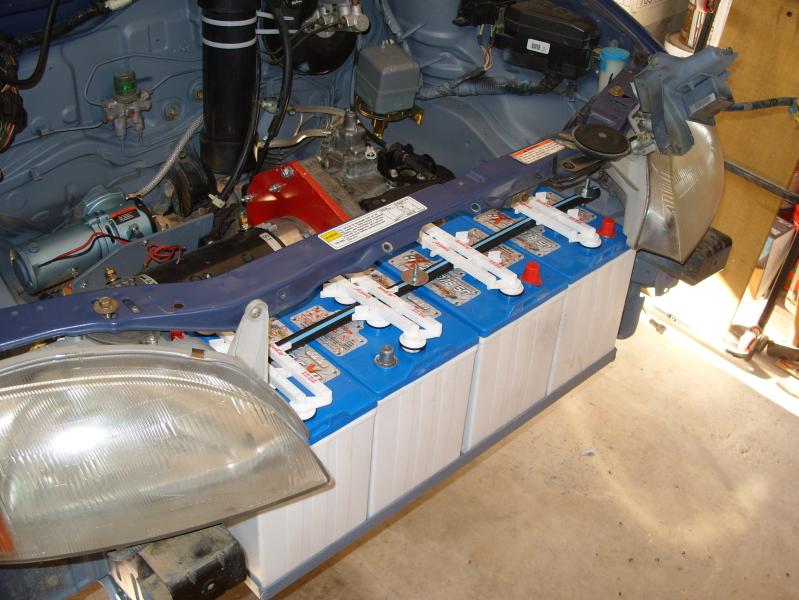
    ...I ended up coming back later to add a little angle bumper bracket which is where the bottom of the bumper cover bolts up... which took another hour to remove batteries, weld on bracket, repaint, undercoat, and re-install batteries. Would have taken 10 extra minutes if I had done it before installation! (sigh)

    I did NOT re-install the bumper yet for easy access to cables and for when I fabricate the belly tray.


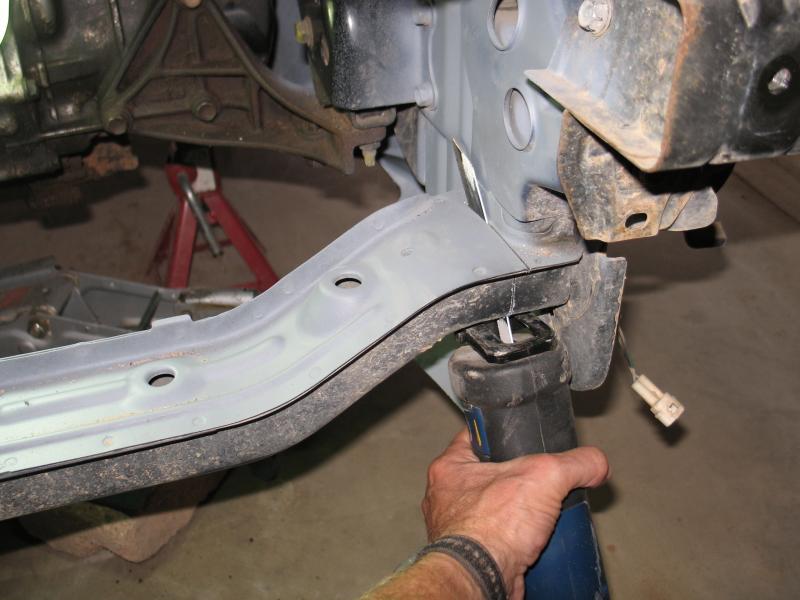
Time to remove bumper and xmember: 1.0 hrs

Time to construct xmember and racking : 12.25 hrs
-----

total: 13.25 hours


Web Site Design and Maintenance By Emerging Technology Services

Disclaimer of Liability and Assumption of Risk: Working with high voltages in electric vehicles can be dangerous. Working with welding equipment or plasma torch or sawzall and other power tools necessary to fabricate battery racks or create holes necessary to lay the battery racks within an electric vehicle can be dangerous. The purchaser/builder solely assumes all risk. Further, the viewer of this site, and builder of the vehicle, agree to hold harmless Daniel T. Baker and any associates from all loss, liability, or damage resulting from any failures or defects in any project completed with these instructions. It is suggested that the builder follow common-sense safety procedures, such as the utilization of gloves where working with high voltages, and ear protection and goggles when working with power tools.